Contents [hide]
How to Take a screenshot on a Chromebook
Taking a screenshot is the easiest thing to do Sometimes, In this case, you just need to show someone else the thing that’s on your screen. There are a few different ways to take screenshots on a Chromebook, so let’s run through all of them right now!
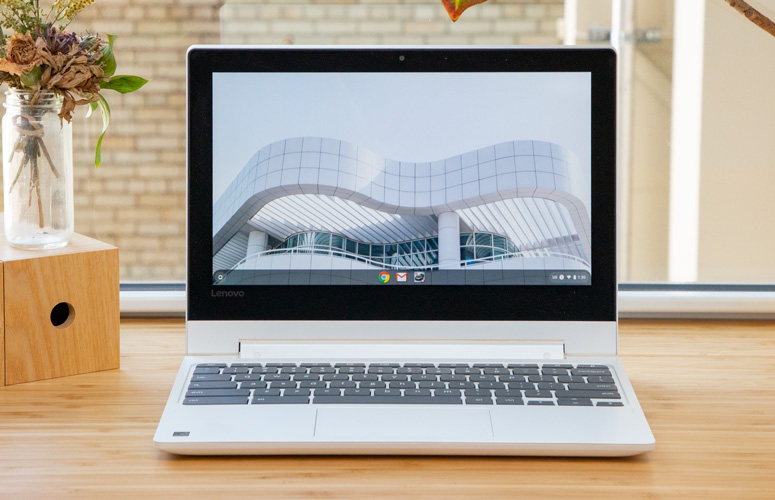 Lenovo Chromebook C330
One of the best Chromebooks you can buy right now.
The Lenovo Chromebook C330 stands out as one of the best Chromebooks the market has to offer in 2019. It’s built like a tank, has reliable performance, and a generous set of ports for all sorts of connectivity. To tie everything together is a low price that we think you’ll be a big fan of.
In most cases, the easiest way to take a screenshot on your Chromebook is by using button combinations — whether that be on your Chromebook’s keyboard or with the power and volume buttons.
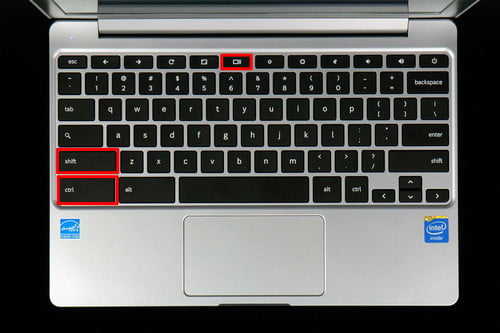
Starting first with keyboard shortcuts, there are two you’ll want to remember:
- Ctrl + []]] to take a screenshot of the entire screen.
- Ctrl + Shift + []]] to take a screenshot of a specific portion of your screen.
For the second command, you’ll use your mouse/cursor to select the area of your screen you want to capture. For those times when there’s just a small part of your screen you want to save, it’s quite handy.
On that note, it’s worth mentioning that these commands are slightly different if you’re using an external keyboard with your Chromebook. In that scenario, you’ll use Ctrl + F5 and Ctrl + Shift + F5, respectively.
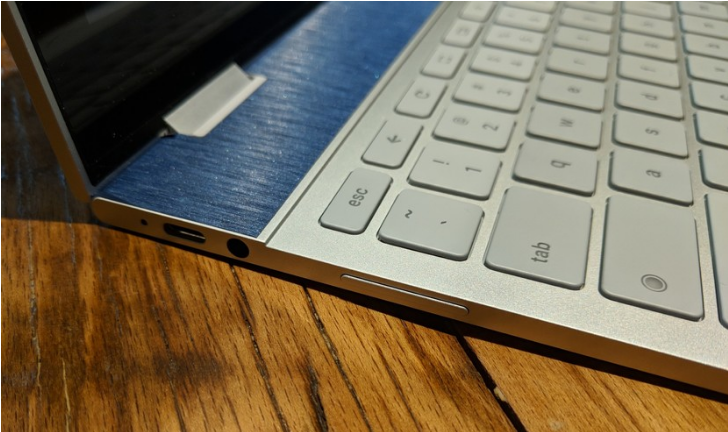
Next, let’s say you’re using your Chromebook in tablet mode and want to take a screenshot. The keyboard is inactive while in tablet mode, but taking a screenshot is still quite simple. In this situation, you’ll just need to press the power button + volume down to take a screenshot.
This combo will take a screenshot of your entire screen, and in tablet mode, this is the only option you have. As such, you’ll need to crop the image after the fact if you don’t need a picture of the entire screen.
How to take a screenshot with a stylus
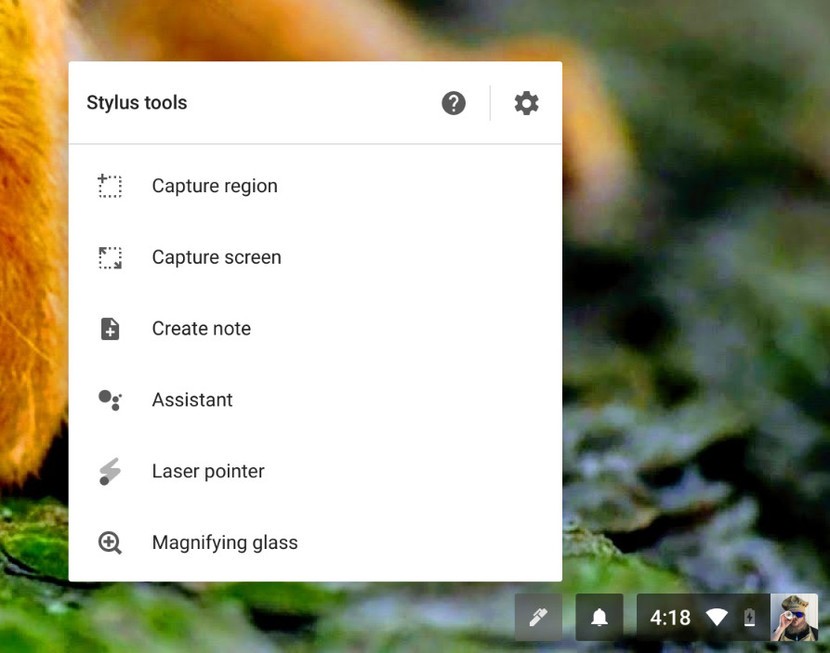
If you have a Samsung Chromebook Plus, Pixelbook with the Pixelbook Pen, or any other Chromebook with an included stylus, you have an additional option available.
When you use the pen, you’ll have a menu of tools available to you in the lower right corner. Inside that menu, you can capture a region of the screen (and use the pen to draw this region), or capture the entire screen.
How to take a screenshot with Chrome extensions
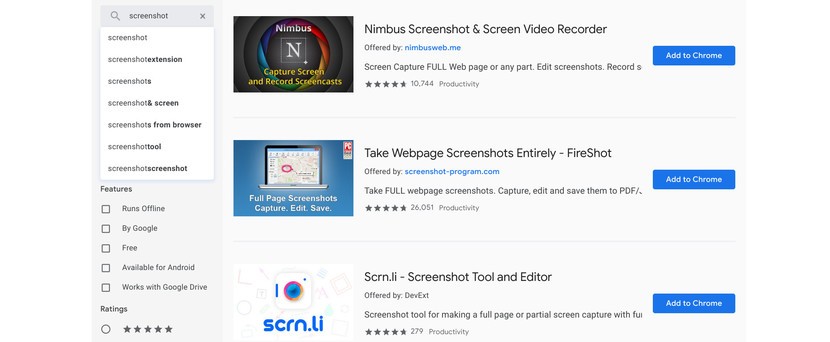
The built-in methods for taking a screenshot on a Chromebook work well. But if you want even more options, you can always install Chrome extensions that give you more screenshot-capturing abilities.
All of the above extensions are free to use, and if you plan on taking a lot of screenshots on a regular basis. It might be worth getting an extension dedicated to doing just that to make your workflow a little smoother.

