Are you looking for ways to fix GeForce Experience Recording not working? Streaming or recording gameplay becomes very popular and there’s no shortage of applications that you can use to stream or record gameplay live. In fact, Windows 10 offers both streaming or recording as the best feature. Lots of other apps used to stream or record gameplay are OBS and the Nvidia GeForce Experience app.
Also See: Different Ways To Add Games To GeForce Experience
Nvidia GeForce Experience Recording
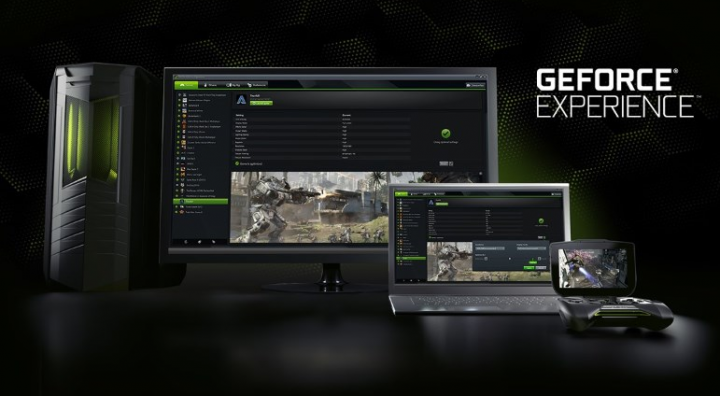
The app Nvidia GeForce Experience can only be installed or downloaded on PCs that have an Nvidia GPU. Also, it checks for and installs the new GPU drivers, optimizes games for good performance, and allows you to record and stream gameplay.
It’s very capable in terms of streaming and recording and also it works out of the box. There is not anything that wants to be set up. Sometimes it works but it fails to record anything.
Necessary Requirements For Hardware
The app can only be installed or downloaded on a system with an Nvidia GPU but having an Nvidia GPU is not the only requirement and not all GPUs are compatible.
If you want to check if your system meets the requirements for recording gameplay, follow these instructions.
- Head over to the GeForce Experience.
- Then tap the cogwheel button located at the top to open the app’s settings.
- From the General tab, check for the Features section.
- If ‘In-game Overlay’ is compatible, your PC meets the hardware requirements to record gameplay.
Also See: How To Fix Geforce experience black screen in Windows 10
Different Ways To Fix The Issue:

Follow the methods below to fix GeForce Experience Recording not working issue:
Game-support
GeForce Experience works with many games but not all of them. If you want to check if a game you’re trying to record is compatible, follow these instructions.
- Head over to the GeForce Experience.
- On the home page, you will then view all the games that the app has detected.
- All games with a green check-mark are compatible with it.
- For all those games you won’t install, move to this Nvidia page with all supported games.
For unsupported games, you can just try to use another streaming or recording tool.
Update drivers
If GeForce Experience offers a pending driver update, you can then install it.
- Head over to GeForce Experience.
- Then move to the Drivers tab.
- If there’s an update listed, simply tab to install or download it.
Driver Reinstallation
GeForce Experience can install or download drivers but certainly, the installation might not be successful. Or else there may be an issue with it. You can also try to reinstall it.
- Head over to the GeForce Experience app.
- Then move to the Drivers tab.
- Tap the more options button.
- Choose ‘Reinstall driver’.
Examine Disk Space
If you want to record gameplay, you should have free space on your drive.
- Head over to the File Explorer.
- Then move to This PC.
- Right-tap your Windows drive, and then choose Properties.
- Check the total amount of space that is available. If there is not enough space then free it up.
Change Saved Videos Location
If your disk space is low, or you’re trying to use the Controlled Access feature on Windows 10, you can then modify where GeForce Experience is saving files to.
- Click the Alt+Z keyboard shortcut to simply open the GeForce Experience in-game overlay.
- Tap the cogwheel button.
- From the window that opens, tap Recordings.
- From the Videos field, tap the more options button and then choose another location for storing files.
Quit Other overlay & VR Applications
One solution that works for many users is to quit other gameplay recording apps that might add their own overlay to your PC. Also, if you have a VR application installed e.g., the Oculus app, and you’re not trying to play a VR game, then exit from it. Make sure the GPU is not being used by another app.
Toggle In-Game Overlay
The recording feature works through the in-game overlay and certainly, it has trouble starting up.
- Head over to GeForce Experience.
- Then tap the cogwheel button located at the top right to move to the app’s settings.
- Move to the General tab.
- Disable the in-game overlay
- Quit the app. Restart your PC.
- Head over to GeForce Experience.
- Then tap the cogwheel button.
- Move to the General tab.
- Then enable the In-game overlay.
- Try to record your gameplay.
Reinstall GeForce Experience
It is possible something is wrong with the GeForce Experience app. The issue might be difficult to find but can normally be resolved after reinstalling or uninstalling the GeForce Experience app.
- Head over to the Control Panel.
- Move to Programs>Uninstall a program.
- View for and choose GeForce Experience.
- Tap the Uninstall button and then enable the app to be uninstalled.
- Once it is successfully uninstalled, install or download GeForce Experience again.
Conclusion
I hope you can now understand how to fix GeForce Experience Recording not working issue. The GeForce Experience app is a few years old but it tends to work differently based on your hardware configuration. Certainly, the app struggles to work with many other GPU chips even if they are compatible.
Sometimes the problem is resolved via one of the solutions in this guide. If you want to reinstall Windows 10 to get rid of the issue, then you’ve run through every solution we’ve mentioned first. Reinstall the operating system is a drastic step to take for an easy issue.
Also Read:


